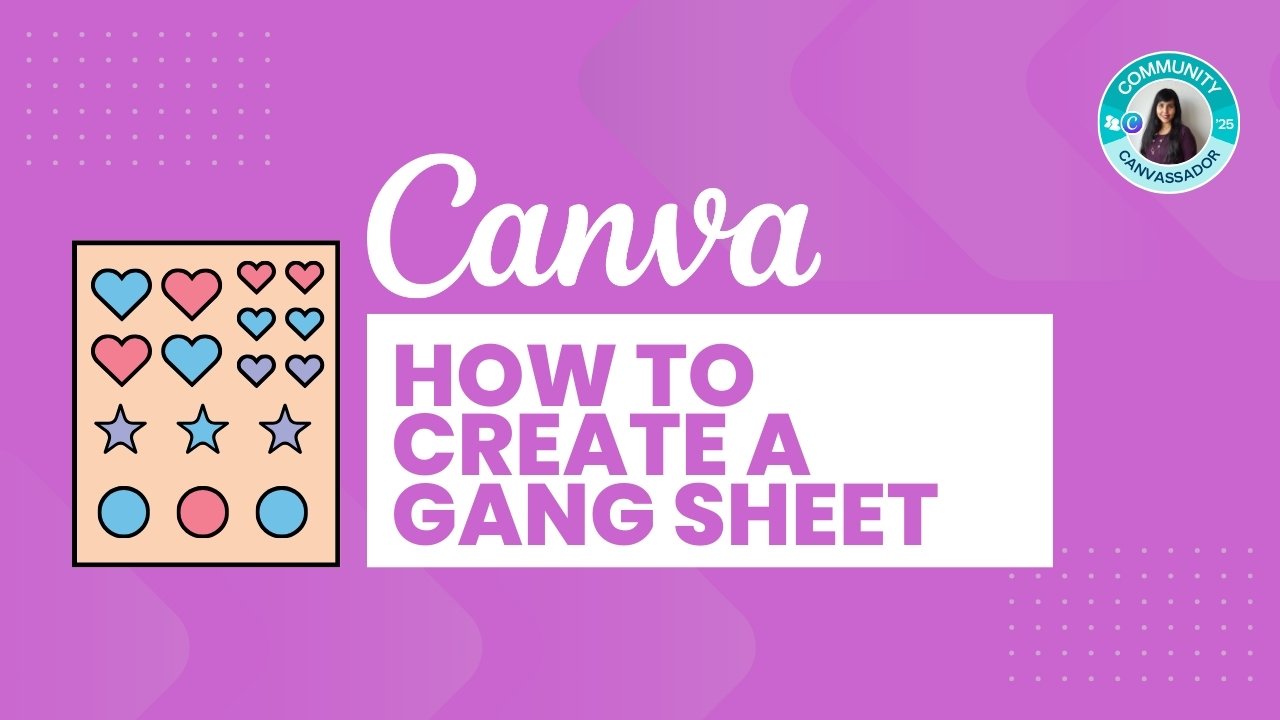
How to Create a Gang Sheet in Canva
Set a custom canvas size to 22 inches wide by your desired height, add and arrange your design elements neatly, and export the file as a high-quality PNG with a transparent background using Canva Pro. Ensure proper margins for printing and send the file to your DTF printer.
If you’re looking to create a gang sheet in Canva, you probably already know what it is: a large document containing multiple design elements, often used for printing on DTF (Direct to Film) printers. Here’s a simple step-by-step guide to help you create your gang sheet in Canva.
Gang sheets are typically 22 inches wide, but their height can vary depending on your needs (e.g., 7 ft, 10 ft, etc.). For this tutorial, we’ll use 22 inches by 60 inches as an example to keep the file manageable.
Here’s how you can create a Gang sheet in Canva in a few simple steps.
Step 1: Set Up the Document in Canva
- Go to Canva and log in to your account.
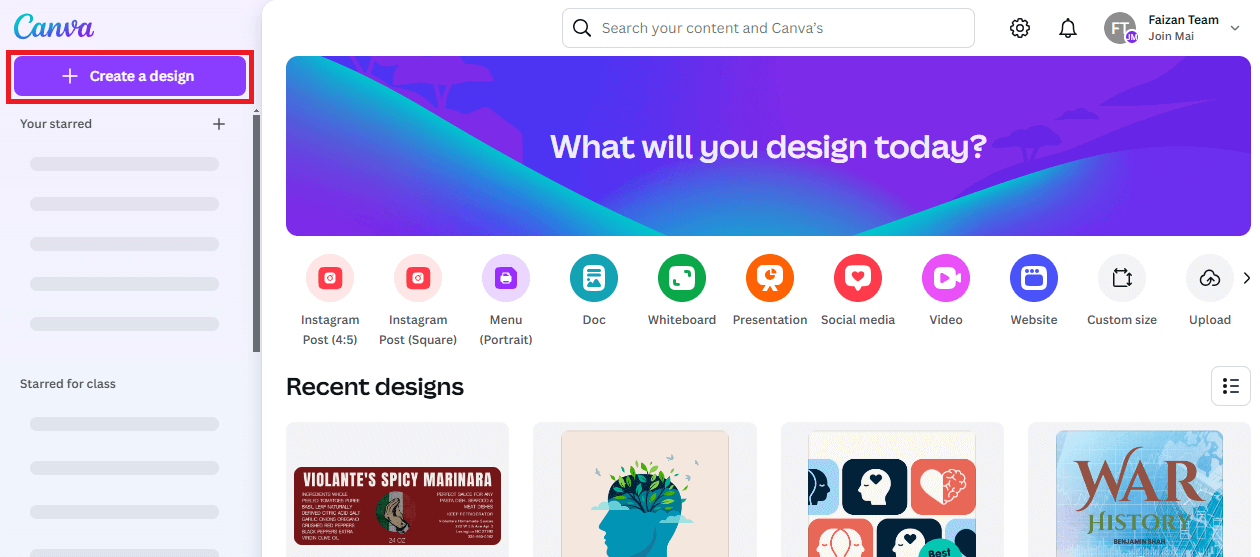
- Click on Create a Design and select Custom Size.
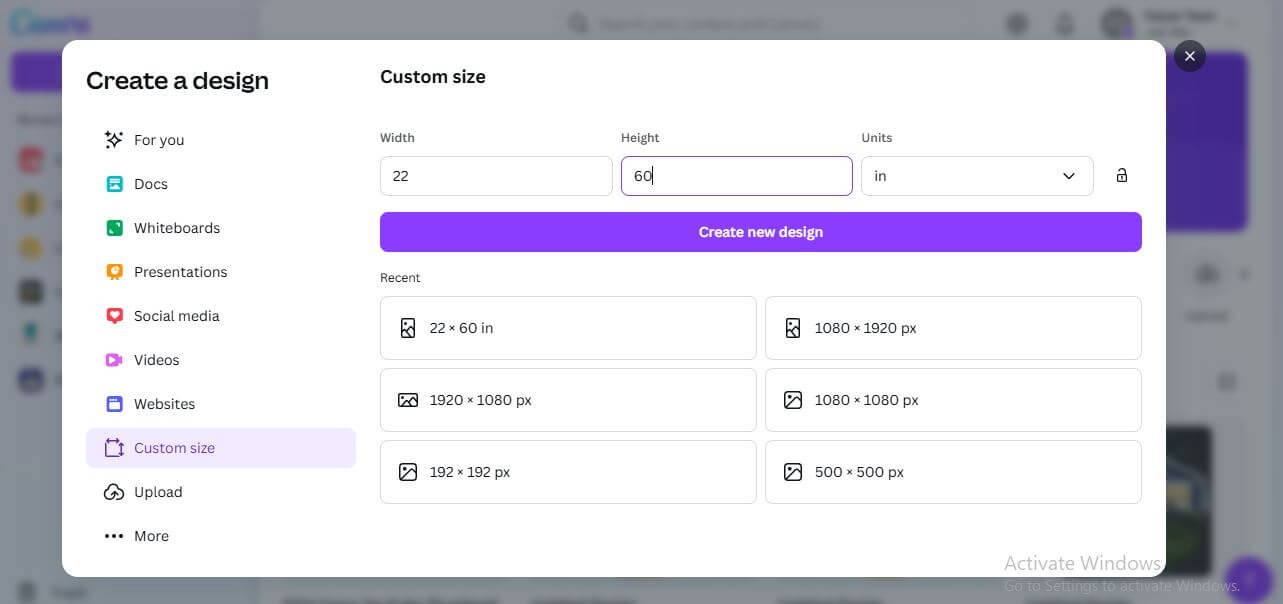
- Set the size to 22 inches (width) and the height you need. In this example, I am doing it 60 inches (height).
Step 2: Add Your Design Elements
- Once the canvas is ready, go to the Elements tab on the left-hand menu.
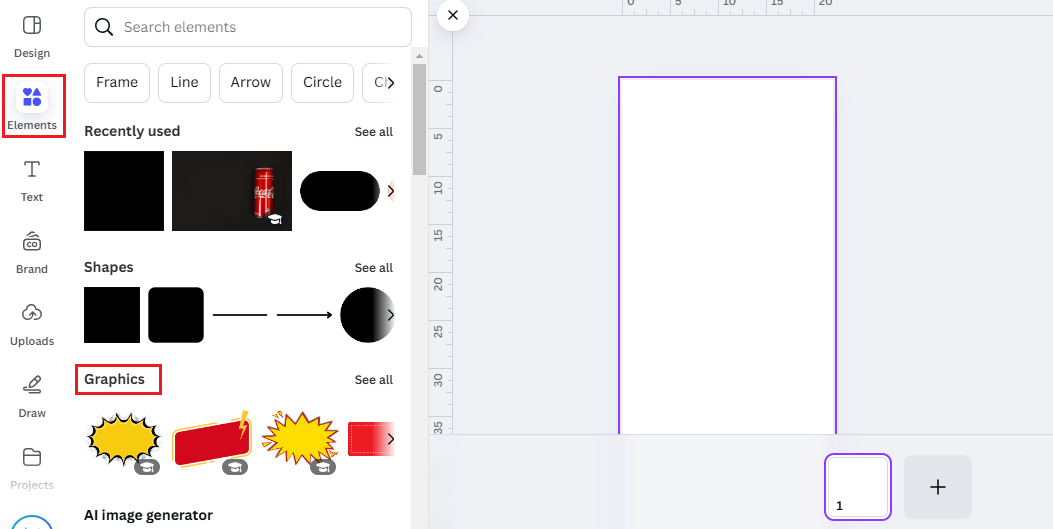
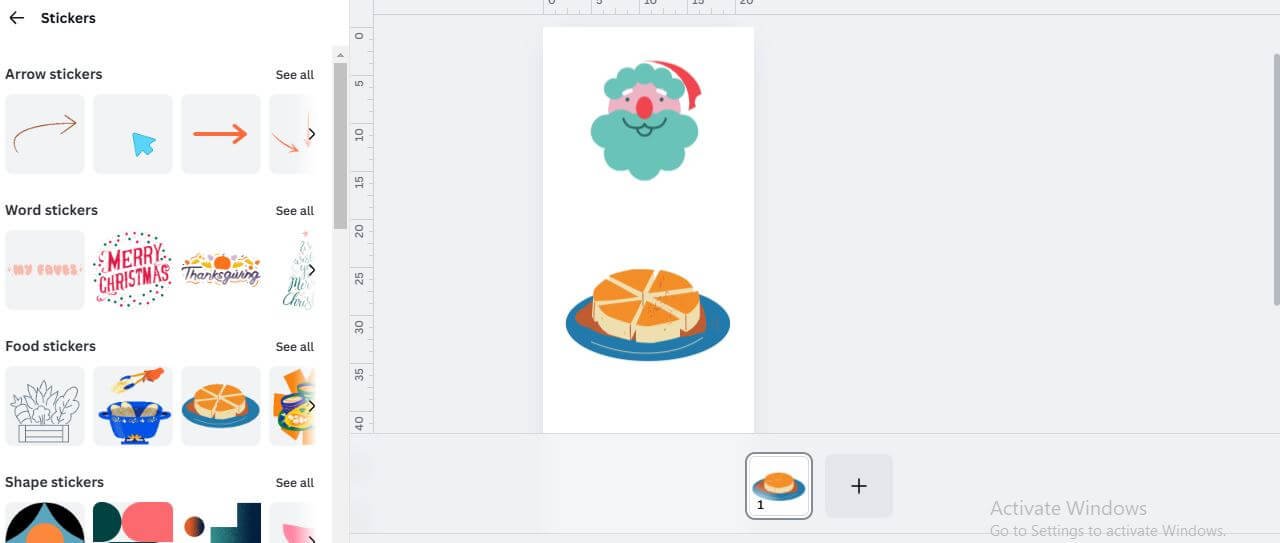
- Search for the graphics or stickers you want to include. You can use repeated elements or mix different ones.
- You can also upload your own custom elements.
- Drag the chosen elements onto the page.

Get the latest Canva tips as soon as I post them!
Tutorials, hacks, updates, tips, and everything in between.
Step 3: Arrange Your Elements
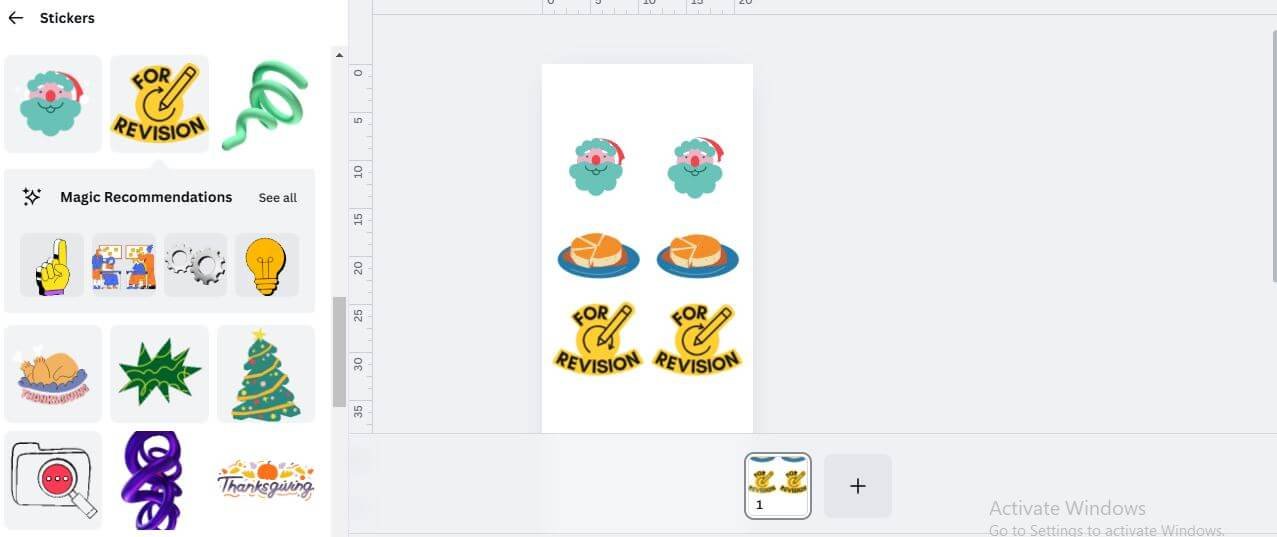
- Place the elements evenly across the canvas.
- Use the Alt key (Windows) or Option key (Mac) while dragging to duplicate elements quickly.
- Align elements vertically or horizontally using Canva’s alignment tools to space them evenly with enough padding. Ensure everything is well-organized.
Step 4: Arrange for Printing
- Add enough margin space around your designs based on your printer’s requirements.
- Check if your DTF printer requires specific bleed or crop marks.
- If necessary, adjust the layout to allow for crop marks or bleed, depending on your printer’s needs.
Step 5: Export the File
- Click on Share in the top right corner of Canva.
- Select Download.
- Choose PNG as the file format.
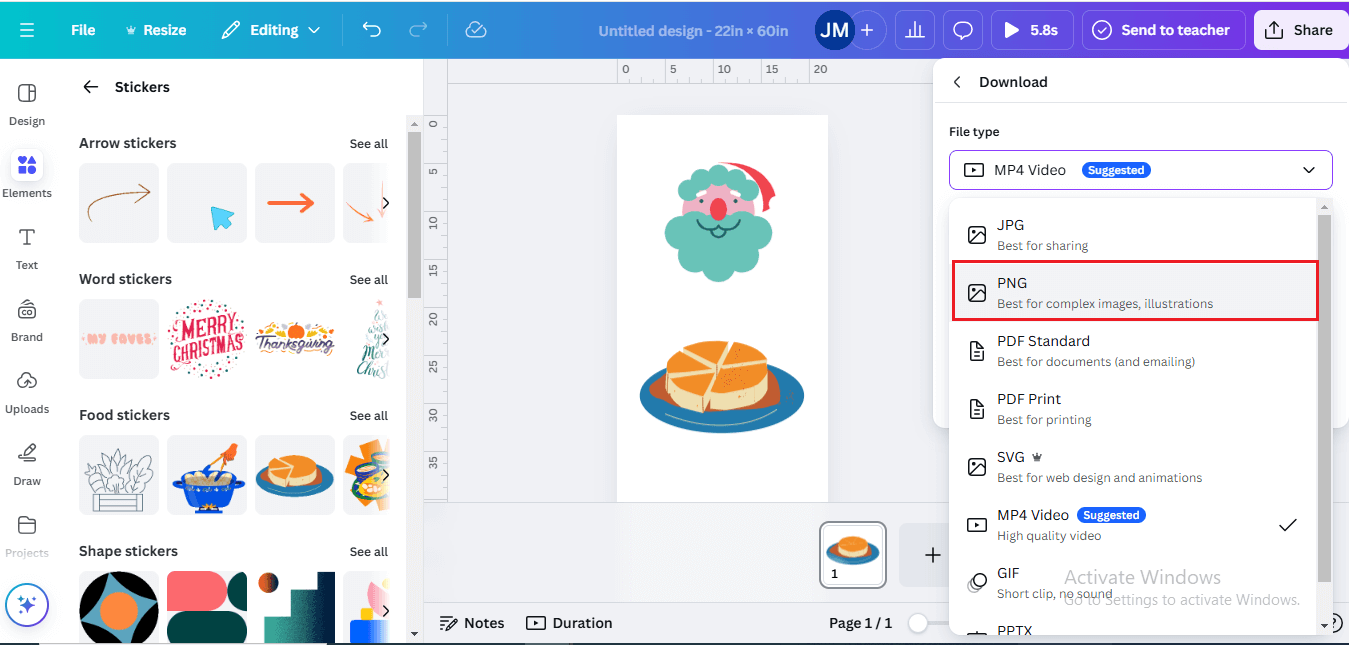
- Tick the box for the Transparent Background option. (Note: This feature is available only for Canva Pro users.)
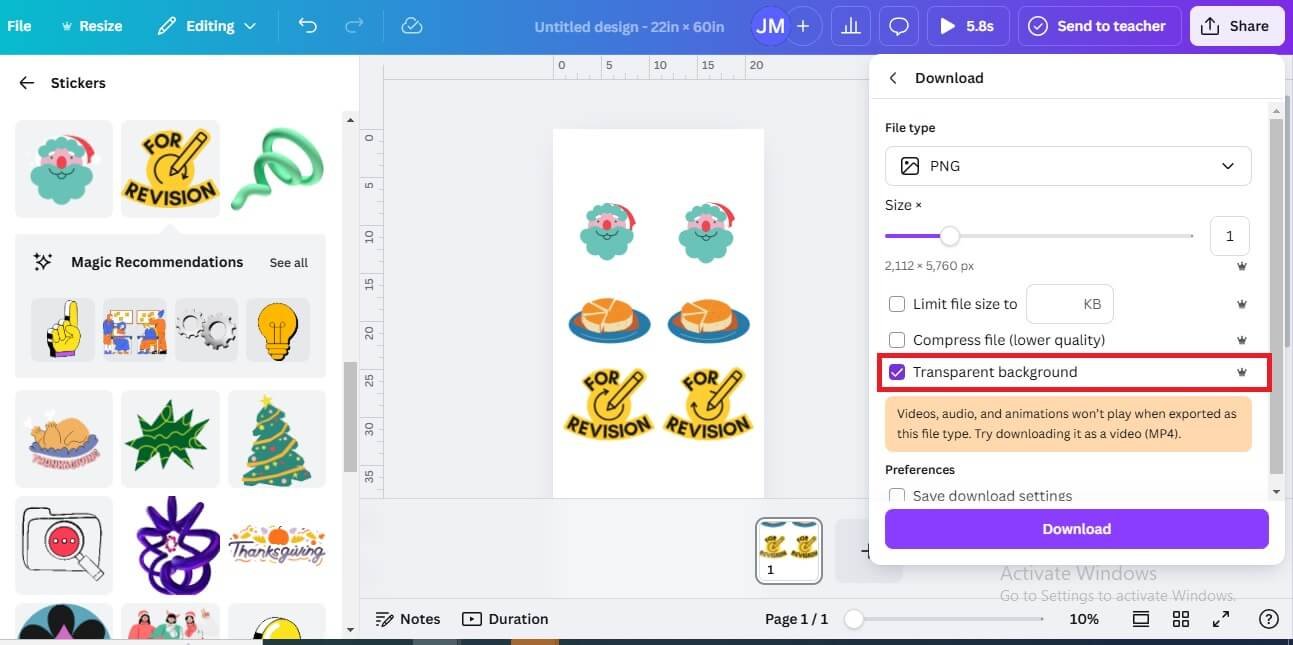
- Keep the file at maximum quality to ensure the best printing results. Avoid compressing the file.
- Click Download and wait for the file to process. Large files may take longer, especially with high-quality settings.
Step 6: Send to Your Printer
Once downloaded, send the PNG file to your DTF printer. If they require additional specifications, such as specific margins, bleed, or crop marks, adjust your design in Canva accordingly.

30-Day Free Access
Try out all Canva PRO features
- 1-Click Background Remover
- Create Designs in Bulk
- 1-Click Design Resize
- 100M+ Stock Content
- 600K+ Templates
- Transparent background PNG files

30-Day Free Access
Try out all Canva Pro features
- 1-Click Background Remover
- Create Designs in Bulk
- 1-Click Design Resize
- 100M+ Stock Content
- 600K+ Templates
- Transparent background PNG files
Additional Tips
- Arrange elements to maximize space and reduce waste.
- If your file size is too large, work on shorter gang sheets or split them into smaller segments.
Once your design is ready, simply send it to your printer!
Other Canva tutorials you may like:
Pages & Elements
- How to change page orientation in Canva
- How to change to landscape in Canva
- How to flip elements in Canva
- How to rotate in Canva
- How to select all in Canva
Fonts & Text
Visual Effects
- How to add a gradient in Canva
- How to add drop shadow in Canva
- How to invert colors in Canva
- How to slice in Canva
- How to pixelate a photo
- How to change the color of an image in Canva
- How to mask in Canva
- How to curve an image
- How to select all in Canva
- How to Add an Outline to an Image in Canva: 3 Ways
- How to Cut Out an Image in Canva: 3 Ways
Print & Business


